Posts

Personal Project 2: Tic Tac Toe
Image
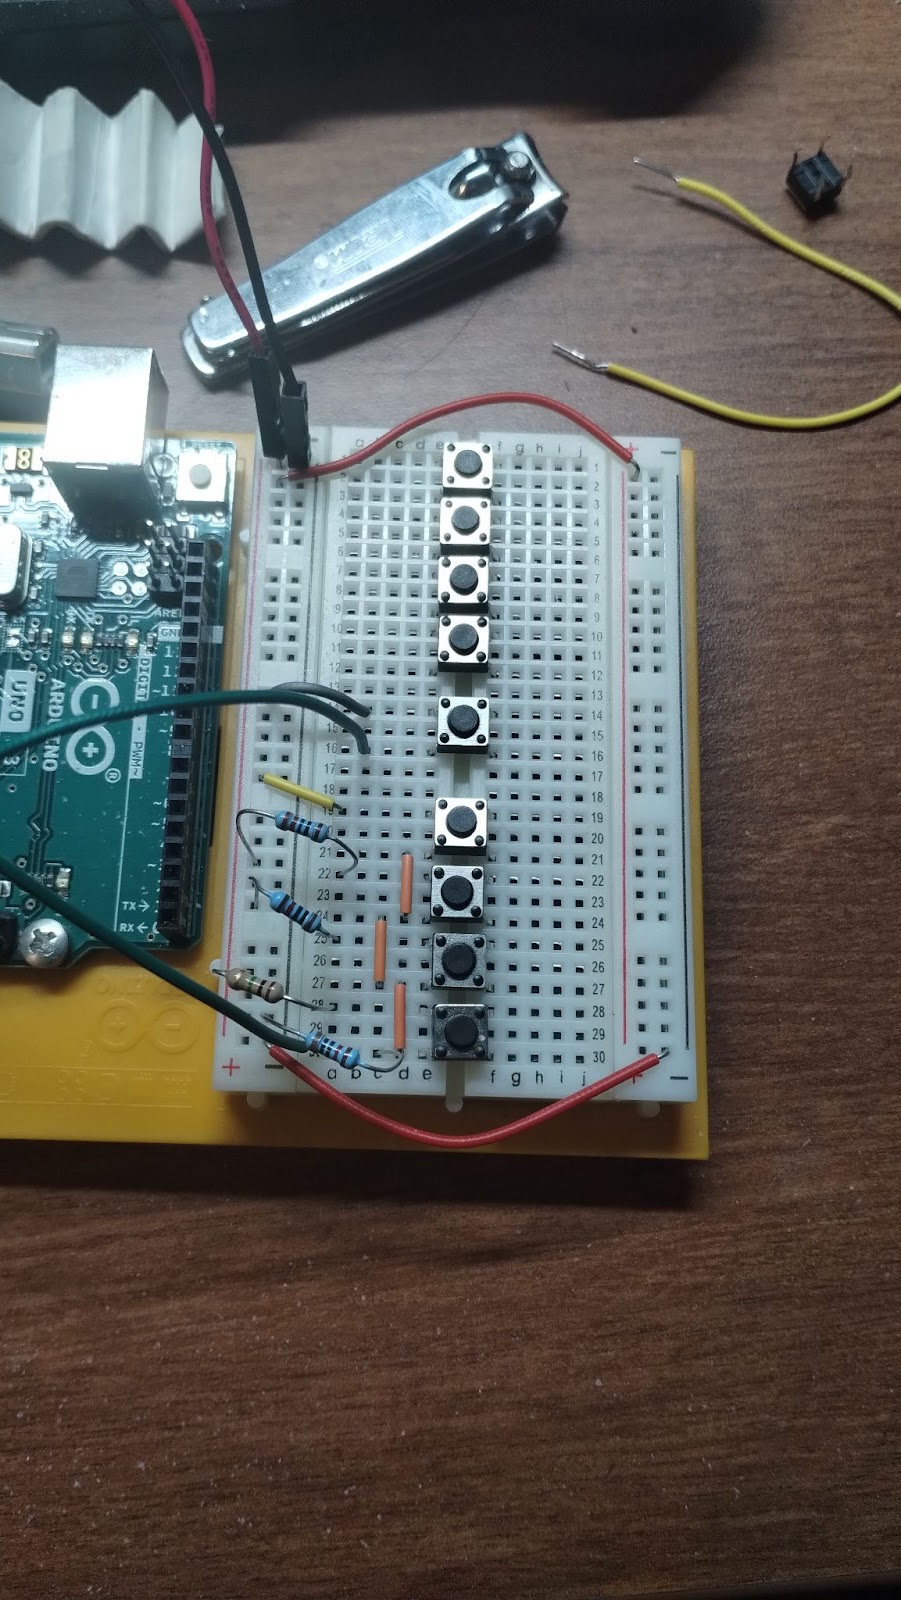
  Tic Tac Toe I needed to make an alternative controller, so I made one for tic tac toe that is run in unity. I went with tic ta toe because I have the pieces to make it and the knowledge to do it. I went with unity due to past experience in the program. Initial Setups This is the initial build i used to test my buttons. This resistor ladder is just like the one used in project 7.  This was the code I used to get the initial reads and make sure that I am still getting the same results as the project 7.  This is what my unity sketch looks like. I made no real changes to it, just got rid of the circle in the top spot. I was using it to determine where the pieces were going to go. This is my final setup and parts list. The double resistor ladder on each side of the board was nice and can be used with further coding for other things. Final Coding Arduino: There is a lot of coding, but it is mostly just simple stuff of just checking if the value is what we want and the print...
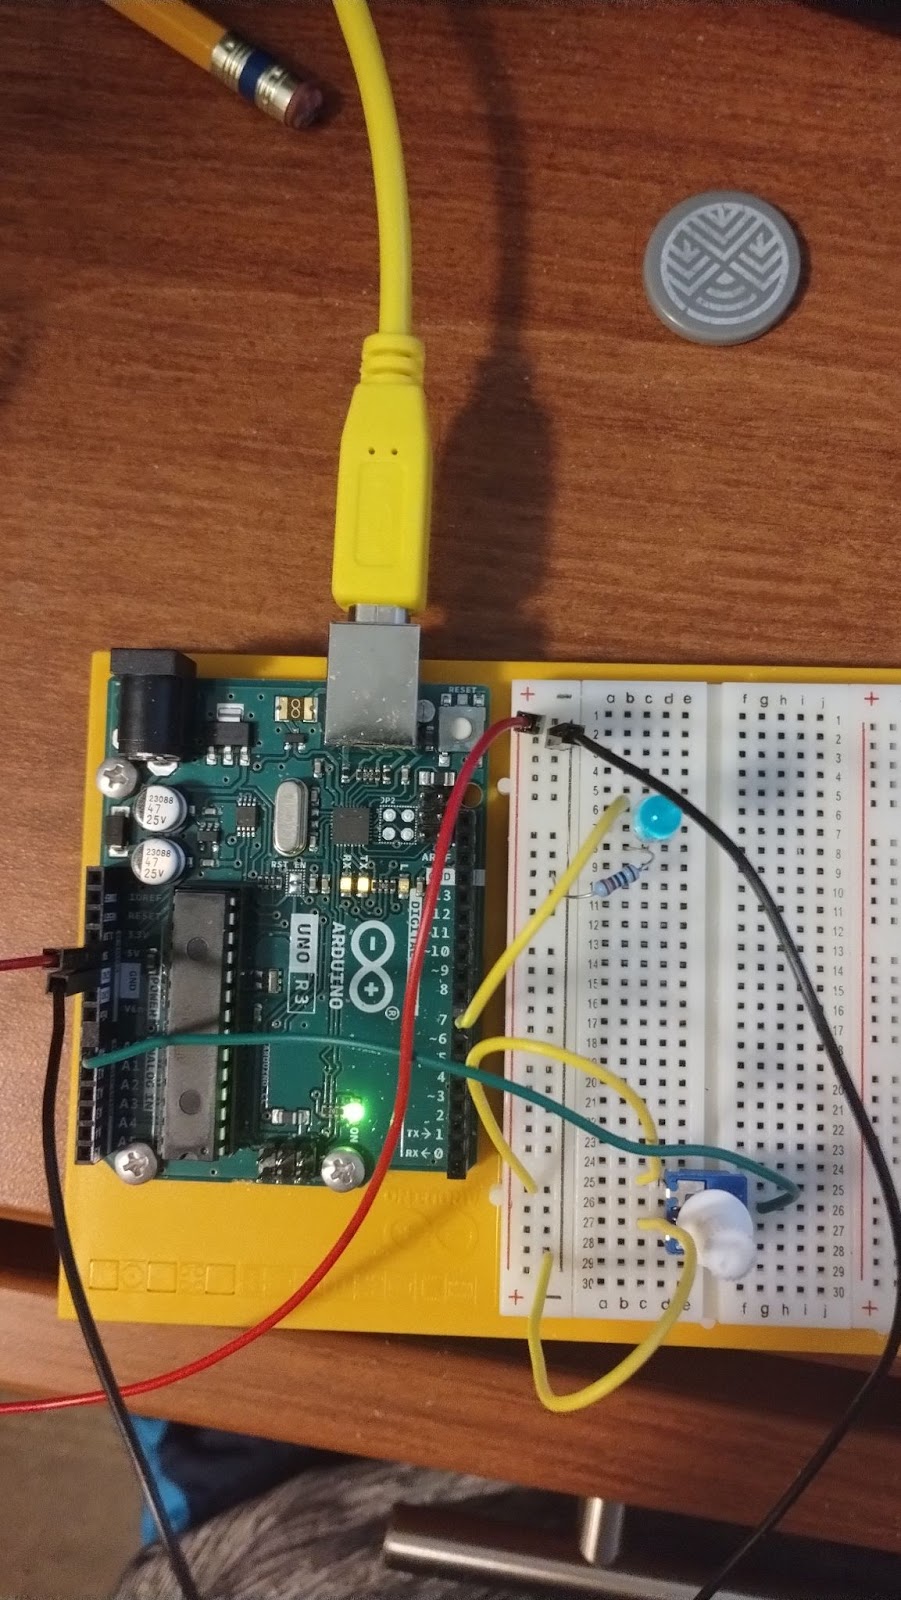
Fun with unity

Image
  Fun With Unity This is a little fun Arduino communication with unity to have a cube move in the game world and have the led shut off on the Arduino board. Here is the circuit and its components. Coding  The coding is simple, but we will be using two applications. The Arduino ide and Microsoft studio 2022 to write the unity script. We will be communicating between the two to show the serial connection that can be made. Arduino IDE: Unity Script Finished Product This project was a simple build and some easy coding. The serial connection to have the two communicate was pretty interesting and has many various uses for the advancement of coding. The code was also provided by the professor. The connection between the Arduino and unity opens up many pathways when going forwards.

Personal Project 1: Plant Problem

Image
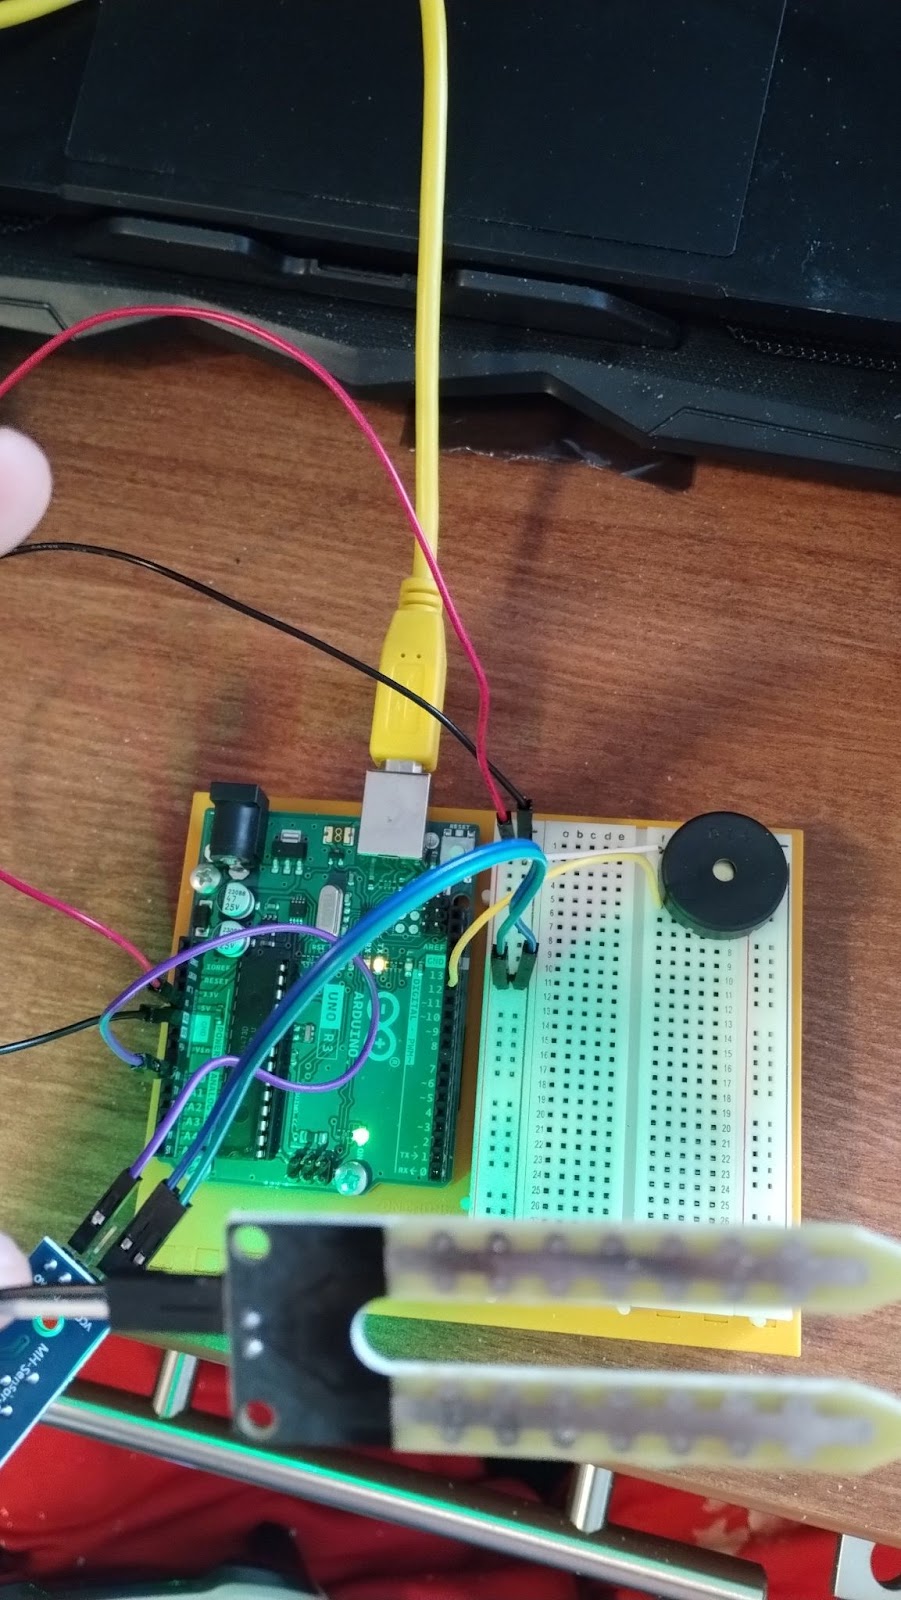
  Plant Problem We as humans tend to forget about our household plants and they go without water. My goal is to use the Arduino to get the moisture level of the surrounding environment to tell us if we need to water the plant. I wanted to use a piezo to play different frequencies for how much water the plant needs. Initial Setups This is the initial setup that I built to do my trial run to get the values that the sensor will read. This was the code I used to get the initial reads and the max value read 1023 and the min value was around 260.  In this video it was a test to figure the min and max moisture levels. I use a mug of water to achieve this and went ahead to use the results to figure out my ranges for the frequencies. During the testing I realized that the test build is going to be the final build as I do not need to change any of the circuit. Final Coding After getting the initial tests I went and created the frequencies and the appropriate variables to allow me to b...

Project 14: Tweak The Logo

Image
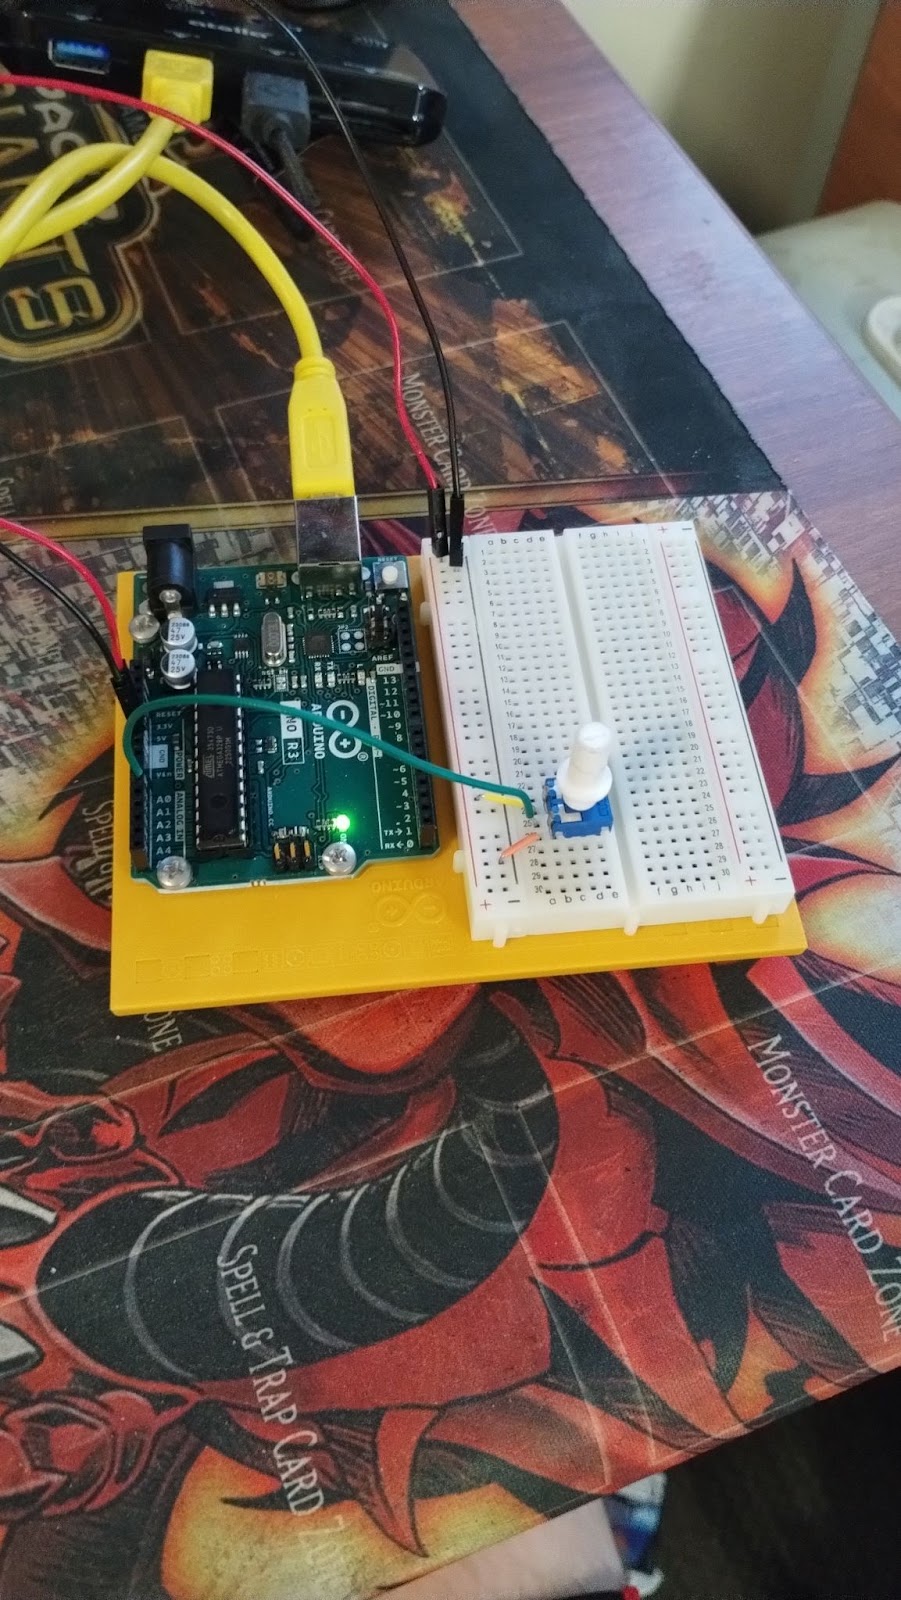
  Homework 14: Tweak The Logo This project we are going to be editing the logo's background using a potentiometer. This will require a new application Processing. We need the processing to load the image on our system and have it communicated with the Arduino. The circuit is even simpler this time and I went ahead and built it. Here are the components and the circuit. Coding  The coding is simple but we will be using two applications. The Arduino ide and processing. We will be communicating between the two to show the serial connection that can be made. Arduino IDE: Processing: Finished Product This project was a simple build and some easy coding. The serial connection to have the two communicate was pretty interesting and has many various uses for the advancement of coding.

Project 13: Touchy Feely Lamp

Image
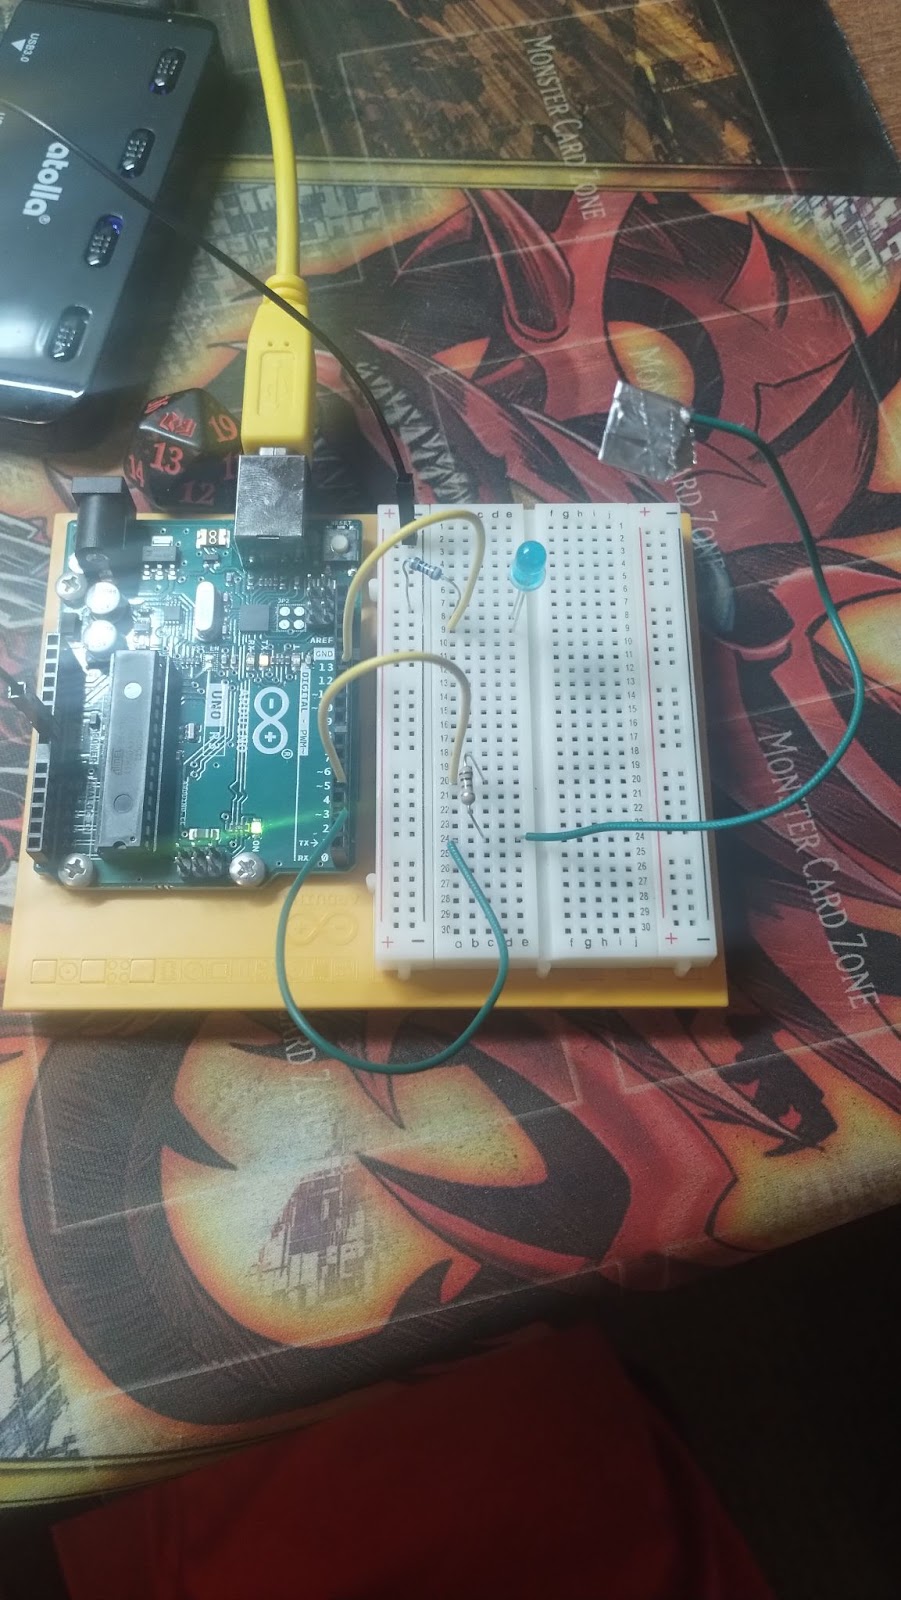
Homework 13: Touchy Feely Lamp This project we are going to be using the CapacitiveSensor Library to allow us to get a response from the touchy-feely part and allow us to turn on the light. I built this simple circuit. The schematic does not show the metal foil leading off of the 1M resistor connecting to pin 2. That is where you need it to reference the picture if you need extra help. Coding  The coding was pretty simple just need to remember to include the capacitiveSensor library so that the foil at the end of the wire will be recognized as the input and can receive the input to tell us of the led to should be on or off. Finished Product This project was a simple build and some easy coding. I used Tinkercad for the schematic which sucked because it does not have that foil option, so the schematic is lacking. Don't forget the foil on the wire for the input otherwise the project works.

Project 12: Knock Lock

Image
  Homework 12: Knock Lock For this project we are going to be making a knock lock. It requires x amount of knocks to unlock. The main component this time is the piezo not for output but as an input to hear the knocks to see how many knocks we have left. I went ahead and put the circuit together and included a schematic view with the components. Coding  This time with the coding it was a bit more general. It was alot of if statements for each state that the lock is in and if we are knocking. It is simple but just more code to have the program work. I also switched my leds so double check when coding the numbers line up with the leds you chose Finished Product This project was a little more time consuming as the circuit took a little bit to create and the coding also took a bit to do, but the project was fun and simplistic and created a nice little lock that could be used to create a secret knock with enough coding.

Project 11: Crystal Ball

Image
  Homework 11: Crystal Ball For this project we are going to be making a Crystal Ball. This project will be using a new component, the LCD screen so we can get words back. The circuit was easy to assemble. There are a lot of wires because the LCD has 16 pins, and we connect to 12 of them. I went ahead and put the circuit together. Coding  The coding uses a different if type statement than the switch case. This will allow us to get a value and instantly compare it to values and then proceed to do more code when it matches. In this case it is to determine what the LCD screen will display. The code also uses the lcd library to make sure you have it. Finished Product This was simple and fun i did have to hold my tilt sensor in place otherwise it would not switch the reply. Going forwards I would probably add a time to have it reset to redisplay the prompt. Otherwise, you can ask it a question and it will give a response.